Shabby Blog

Showing posts with label renovation. Show all posts

Monday, 4 February 2013

The 2013 House To Do List


This is our rather enormous list of things we need to do, because we will be moving!  We aren't quite sure where we will be moving to but we do know we want a bigger house, with a lovely big garden and that we need to finish off this one before we can sell it.

It is exciting to finally get round to doing some of the little things we've been meaning to do for some time.  It seems slightly mad that the house will look as nice as it ever has for the people who come to view it.  Well, that is my intention anyway.  As always there are big and small jobs to be completed   It's external window ledge painting vs. clutter clearing.  I've already tried to make a start finishing off going through bags that have been unopened since I got rid of my desk whilst I was pregnant... I have to say it has already been quite cathartic, writing the list and then slowly crossing things off.  It seems like it will never end but we will get there.

In the mean time I am busy dreaming of my new desk, and I have spotted a a thing of beauty which I can only dream of working at. (Like my 'office' would ever be so organised.  Is anyone's?


Thursday, 6 December 2012

2 Weeks In - The Kitchen Rennovation Continues

So we are almost 2 weeks on from when we began the alterations to the kitchen.  We started off by writing quite an extensive to do list of things we'd like to get done by the end of the first weekend but events have got ahead of us and we aren't quite where we would like to be.  However, all our kitchen wall cabinets have now been installed.  So after almost two weeks without storage we finally somewhere to put our cups and glasses which until now have been stored in an empty laundry basket. This one, no less!


The kitchen still looks pretty much like the above, but with a few less boxes.  Most of the boxes are for the bottom units and 1 very high full cupboard which will house the oven.  Annoyingly, because we have rearranged where the bottom cupboards will sit, we can't take each bottom cabinet out one by one.  They all have to come out together.  It's this that makes it rather tricky, but we plan to get the majority of the work done THIS weekend! Wish us a bucket full of luck, we will need it.  Not to mention the fact we have never been able to find where to turn the water off in our house so we'll have to freeze our sink pipe, remove the current unit and reconnect and install the new one, as the clock ticks and the ice melts.


Issues like the above wonky socket, do need resolving and I have purchased some shiny new sockets to replace the ones that we had when we moved in which are completely covered by grout!  I am pleased to say that the walls don't look anything like this now as Neil has painstakenly plastered almost two entire kitchen walls.  Plastering is a very difficult art, and we have had to invest a fair amount in purpose built tools, but it was a choice of either hiring a plasterer £££ or buying a large number of tiles to cover the dodgy walls ££.  I've done a breakdown of the tools we have needed for plastering further down the page and it has been worth the cost as we get to keep the tools forever. Where as workman's time and tiles don't stay with us forever.


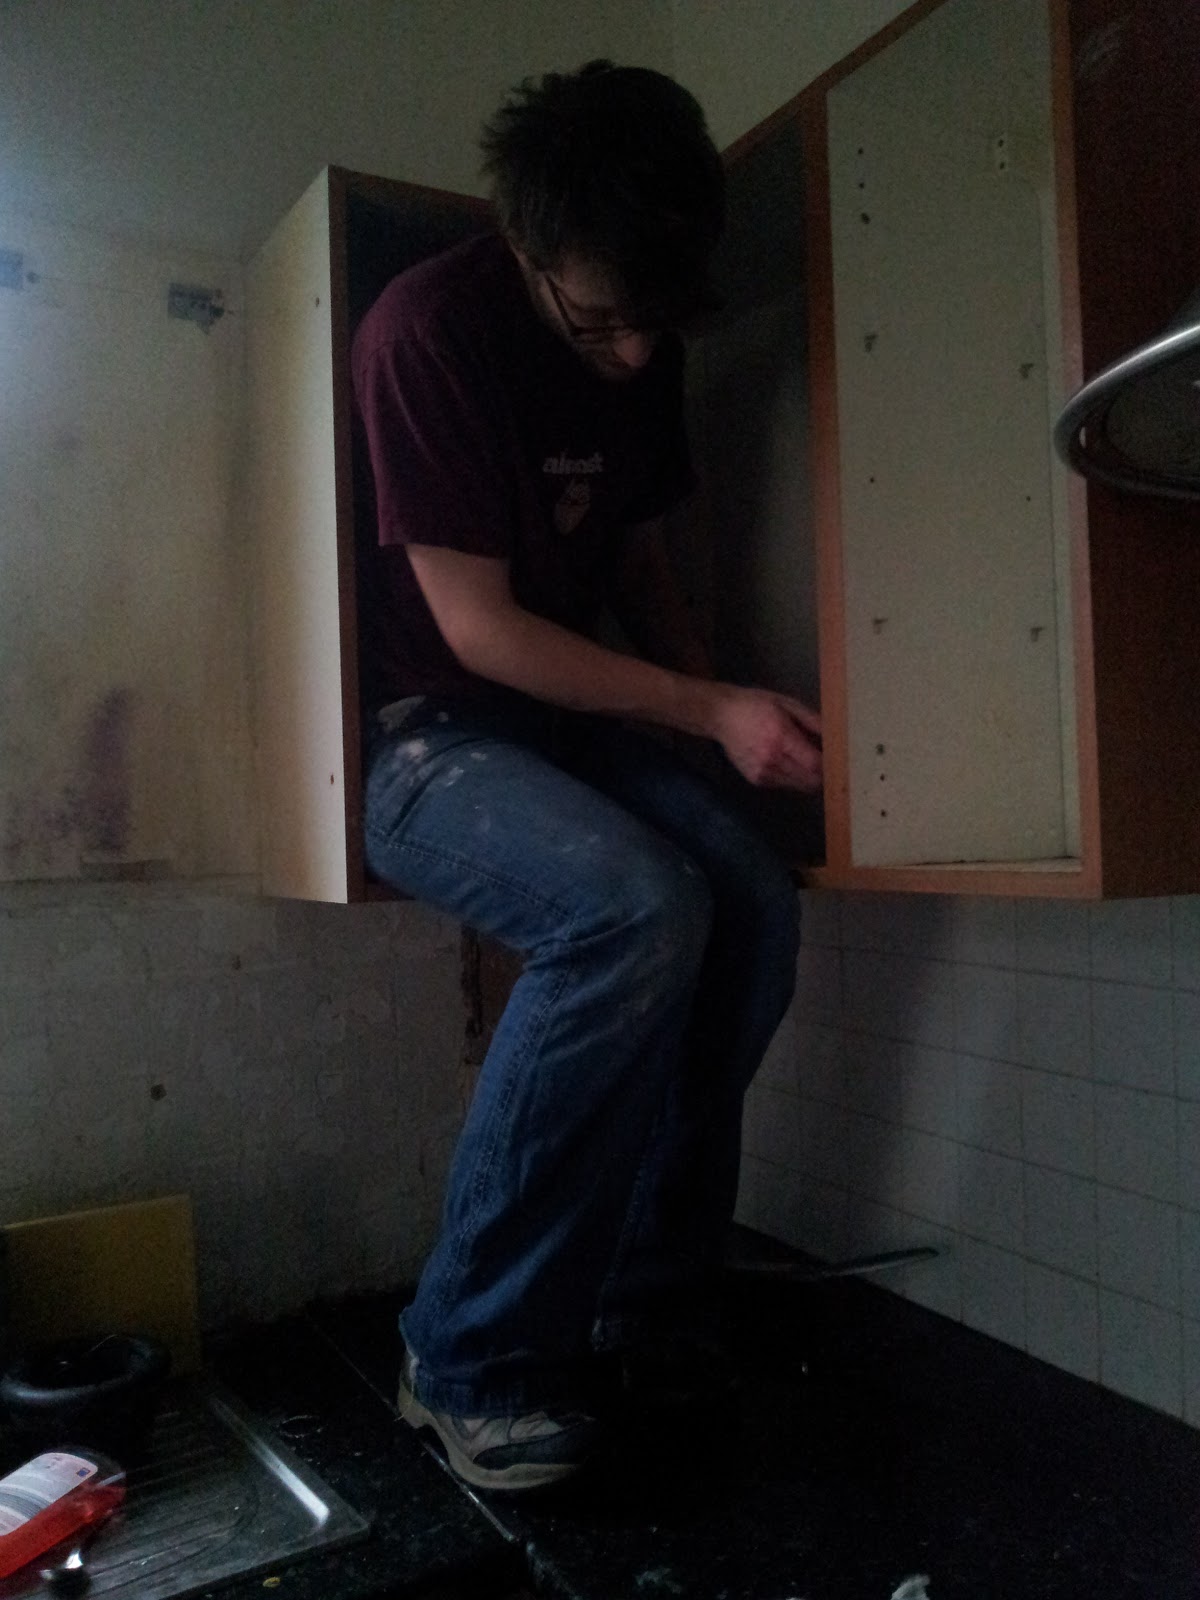
Here we have Neil taking off the kitchen cupboards, they were surprisingly well attached to the wall with two brackets at the back of each cupboard.  Unfortunately, the brackets and screws had rusted together so we had to crow bar them out of the wall.  Naturally this left massive holes in the wall so we've used filler to make these good, before plastering over. All of this needs time to dry and has been slowing us down with the limited evenings and weekends we have to do things in.  Luckily we were loaned a dehumidifier from my parents in law when we moved into the house which we have failed to return.  This has helped us so much over the years.

To do the plastering we have needed:
Plaster Paradise
This is the first wall Neil plastered, it was previously covered in tiles, but we don't think these are needed, and didn't want to spend the money on replace them! Instead we have had to spend time and money plastering them but I have to say, it has been well worth it.  All we have to do now is give them a sand over and it will look fantastic.


As we only have one trowel, whilst Neil was finishing off the second round of plastering, I started putting together the top cabinets as we were able to get these off the wall and measure where they needed to be.  (Fingers crossed our measurements are up to scratch in an end terrace that has non straight walls.  The only place I had to build them was the dining room hallway and it was getting a little difficult to move anywhere once they were constructed!  You'll also see the bags full of cooking ingredients on the right as we spent the first week with no kitchen cupboards on the wall.  The good thing has been having to clear things out though, did I really ever need 3 jars of pickled onions!?

Corner cupboard in process

While I was building cabinets, Neil carried on with the plastering, trying to make good the area where the second wall cupboard will hang (in the corner).  This also included plastering the window sill which was previosuly covered with tiles until we set to work chiselling them away.

Where there were previously bare walls, like behind the cabinets the previous owner covered the very uneven walls with lining paper which we have removed and plastered.   Once the plaster was on, dry and sanded I used an old white emulsion as a base coat.  Then used our new paint, Contemporary White from Homebase.  Once everything is painted I can't even imagine how good it will look.  It's already starting to come together as you can see below with the arrival and installation of the first wall cupboard and the built in microwave.


So now it's on to stage two this weekend, so I guess Friday night will be a busy one as we prepare for the base units.  This will include removing all the tiles from the floor and laying down the 4 ply wood sheets that have been cluttering up our hallway for the past week!  I'm excited but a little daunted at the same time.  Maybe I need to go back to my inspiration board to keep me sane...

Kitchen Plans Dec 2012

Friday, 19 October 2012

Our Dream Kitchen - with help from Rated People

I barely know where to start when trying to document our kitchen renovation requirements.  Let me first explain that our kitchen is the last room we are attempting to tackle in our house since we bought it nearly 2 1/2 years ago.  I am sitting at my keyboard now and I know I need to go and take some photos to document the work required but I am a little scared!  There is currently, missing plaster on the walls, bodged tiling, a cooker who's front has fallen off and... a few holes in the floor! (To name but a few of the issues.)

Our ideal Ikea Kitchen haven
Me trying my best to spruce up broken cupboards, extractor AND cooker)
We put off work in the kitchen as I think we were trying to avoid admitting that there were some quite serious problems in there to tackle that would require a bit of investment time and money wise.  Now we have a semi-mobile baby scooting around we must take action on the holes at least!

So here goes with our major renovation plans!

First we need to tackle the floor.  That means ripping out the entire kitchen, cutting out all the rotten floor boards, treating the surrounding area and then relaying a new floor.  The bodge jobbers who previously owned the place laid wall tiles as floor tiles directly on to the floor boards.  needless to say, until yesterday this was lurking underneath our ill fitting dishwasher and washing machine.


We really were at the mercy of our appliances as we knew that sooner or later one of them would go through the floor. (Particularly when the washing machine was doing a spin cycle) Poking around with the help of my dad yesterday confirmed this and thanks to his hard work he has fixed the floor for us.


So, now the floorboards fixed we need to move on to the other troubled areas and could really use a financial boost to get things under way, especially if we want to have it done before next Christmas!


Please excuse the pictures above, I fear I should have had a health warning on the top of this post.  It would mean so much to us to be able to sort these out.  At the moment it seems hard to believe that it will ever be our dream kitchen but I am convinced we can get there with just a bit of help.  So to inspire us all I have created a wonderful inspiration board of what we have in mind.


Here is my Pinterest board of just some of the inspiration I would like to bring to our dark, dank and thoroughly dreadful kitchen! So, tots100 & Rated People, is our challenge accepted?


ratedpeople.com renovation

Friday, 29 June 2012

Gardening Beginner


I am somewhat of a newcomer to this gardening malarkey. I've been giving it a bit of a go for the last few years with mixed results. However, now I'm at home looking after Nye all day I notice the front garden that is persistently riddled with weeds and I've been slowly doing my best to add flowers and herbs when I can.

Money is obviously a deciding factor when it comes to making changes and limits being able to immediately make it look fit to burst with colour and foliage.  I have made some rookie errors mind you. Firstly, those of us who are not natural gardeners should steer clear of the clearance section where plants are past their best.  Whatever the discount, planting unhealthy plants that immediately die doesn't do much for ones confidence.

This post has been a long time coming as I fail to take photos which really capture how much it has already altered but there is still a long way to go! Here we are back in the day, June 2010 when we bought our first house.


Sunday, 20 November 2011

Bathroom's at 50%

Yet again it has been too long, yet things have been chugging along nicely.

Since my last bathroom update we have tided up but we're still in the in-between stages.  After Neils parents left on the Sunday (weeks ago now) we were left with a fully functioning bathroom but with a long list of finishing touches to be done.  


Here's a breakdown so we can cross them off one by one.

  • Fill in holes in wall left by tiles, screws, nails and bad plastering. (Sunday 13th November)
  • Make good bumpy walls
  • Choose paint colours (Saturday 5th November)
  • Test paint colours next to tiles/coving etc. (Sunday 20th November) 
  • Clean and repaint bath
  • Tile remaining walls
  • Stick and paint skirting board
  • Finish cutting and sticking down flooring
  • Wipe down and paint all walls, (decide which colour goes where)
  • Find and hang bathroom mirror
  • Find bathroom cabinet and arrange delivery
  • Choose bathroom fittings
The bad news for today is that although we love the white we have chosen for the bathroom (that sounds mad to me, how can there be a good or bad white but I am convinced).

Oyster by Wickes

Our bargain blue paint from Homebase just doesn't look dramatic enough to really make the room and it should.  I think it should be bold and grand to suit the rest of the suite.  So it's goodbye mountain rain (which is no longer on their website) - it looked a bit like this...


So we were thinking of going for something a bit more like this instead...

Hague Blue @ Farrow and Ball

Saturday, 29 October 2011

Bathroom skirtingboard

Yes, it is 5.54 and i am oh so awake in my sofa bed considering whether yesterdays skirtingboard painting in dry! Its all sooo exciting eh.

We bought all new skirting for the room (twice) but when we came to take it off it would not budge! (With the added problem that in some parts there was nothing behind it and it seemed to be holding up the walls...)

So old skirting it is, and what an excellent job the previous occupies did.
 

So, after a quick hoover and wipe i made a start as we're hoping to lay down the new floor tomorrow *happy dance*

So ta da! 'new' and improved skirting.

And here's what the rest of the house has decended into!


Tuesday, 7 June 2011

Bathroom movement and stir fry!

So we finally won our new sink and toilet for the bathroom re-fit.  We managed to get them for £1.02p and are due to pick them up in Henley on Thames on Saturday, we're mega excited!  The pictures don't do them justice but these are the models.


So once I've cleaned up the taps that come with it, it should look truly beautiful.  Now I'm on the hunt for cheap and glorious tiles. Hurray!

P.s for quick, cheap and delicious dinner make this! (Courtesy of The Pioneer Woman Cooks)

Wednesday, 25 May 2011

Bathroom antics

And I'm back, sorry for the delay! Working full time had removed me from my DIY goals so I'm a part time creative for the next week or so.

In any case, we are still on the hunt for our new bathroom, we are putting all the money we received for our wedding today a major renovation.  I'll add a photo of our bathroom later but suffice to say it is a bit of a mess.  Don't get me wrong its a massive space, just badly organised.  We currently have a corner bath and a massive double sink we don't use.  We even have a chair in the bathroom at the moment which is a slice of luxury I kind of enjoy!

We have decided that we want a traditional suite with a splash of colour.  I want some cute and quirky but also stylish and appealing to any future buyers.  Here are a few of the images that have caught my eye.


Love love love the colour mix and the bath!

Definitely want some shabby chic storage

Love the drama and the style

Love the light fitting!

Share

Search This Blog