As the weather has finally perked up and we all want to be outside as much as possible, now seems to be a great time to get thinking about the garden. When the nights are longer and warmer outdoor space is often under utilised as a place for relaxing and unwinding. Even with a small patio garden like us it really is fantastic to use the garden as an extra room for entertaining.
This week I wanted to share with you some of my favourite pieces from the John lewis collection of outdoor lighting. Here are some items that I love and how I would arrange them for our home.
Having an outdoor light can be really useful and great for security. This solar powered light is a great as it means you can install it yourself and run it for free!
Disclosure -
This is a guest post, all words and opinions are my own.
Oh Spring where are you? I can't see you for all the snow! I'm sitting at my desk staring out across our garden and all I can see is the brown branches of winter with a sprinkling of snow which is slowly melting into the ground. Hopefully before we know it the sun will arrive and my daffodils won't look quite so droopy.
As ever our house renovations continue. The brief is, try to make things looks fresh and neat for as little as possible. We painted our bedroom is a lovely Duck Egg Blue the night we moved in (nearly 3 years ago) and I do still love the colour. It's bright but also relaxing, an unusual choice for me because I wouldn't normally go for blue. I think it could do with a few finishing touches to make it look inviting and this is what I'd get if I didn't have an entire house to neaten up.
My absolute favourite's here is the bedding which is £20 (Ikea) the Lamp £9.09 (Dunelm Mill) and the side table £20 (Ikea). I think everything else works really well together. We don't have any wallpaper in our house but this would look awesome in an alcove.
I am slightly addicted to giving photos as gifts. I've been giving framed photos for years as I don't think there's anything better to receive than a picture to relive a happy memory as you pass it in your home. I love to take photos like every other person out there but I am so bad at actually printing them off that pictures are always a perfect present for me.
I was asked by i-pic to review their personalised picture frames and I jumped at that chance as this is exactly the king of thing I love. i-pic offers a massive variety of frames to choose from and you can even add your own text on the front and back. If this isn't enough you can even draw your own design which will be printed and then choose the photo to pit inside the frame. This would be perfect for a child to design their own picture to give to a grandparent, aunt, mum or dad as a gift. I started off thinking I would do my own design but decided the i-pic creations far surpassed by meagre attempts as my inspiration was waning on Saturday afternoon.
Here are a few of my favourite frames:
The process of ordering was really easy as I simply chose the design, added my text to the frame and selected the photo for inside the frame. The frames and fonts you have to choose from are really varied but there aren't so many that it's impossible to choose! You can also select whether you would like the frame to be metallic which also changes up the look for something a bit more luxurious for a few more pounds.
To my surprise after ordering on Saturday afternoon I was absolutely astounded when the frame arrived on Monday, in a smart looking cardboard envelope that fits snugly around the frame. The frame itself is made of a hard wearing plastic that can either stand alone using the stand provided or be put on any magnetic surface. I've been proudly displaying ours this week on the fridge before I took it down to take some lovely photos.
If you like the sound of i-pic then you can win a voucher to create your very own frame. Simply enter using the rafflecopter below and I will select a winner at random on Tuesday 5th March.
DISCLOSURE: i-pic provided me with a voucher codes for the purpose of providing a review of their product. The content of this post is my own and you can be certain that all reviews are 100% honest. I have also been provided with a voucher code for the lucky winner of the giveaway.
My beloved Pinterest has informed me on numerous occasions that it is possible to make your own fonts. I don't know about you but I waste hours of my life drooling over beautiful fonts and no matter how many I download I always seem to need more. So, one of my things I thought I would like to accomplish this year was starting to make my own fonts.
Doing this is still something I haven't had a chance to get round to, but when I saw this post by Holly about font making Apps I had to have a go. Naturally iFontMaker which Holly talks about in her blog post is only available in the apple store but thankfully I was able to find an android version called Font2go.
The basic version of Font2go is free and lets you create your own font in lowercase letters but you can only save one font. I initially did this but decided to pay extra for the upgrade which allows you to do all the characters and symbols you need for a full font and create as many as you like. I think I paid £1.89 which was a lot for me because I pretty much never buy apps for my phone. But in this instance I was chomping at the bit to have a play around so I think the very reasonable fee was worth it.
It has taken me a while to realise how to transport this from my phone to my computer but now I know it is easy peasy. All you have to do is press the button in the top right corner which completes the font. You can then press email, and the full document will be sent to your email ready to download. Simples.
So if you like it, you can use it too. The dowload is available here.
This week I thought I would keep it simple with Just One Dress. And oh my what a dress it is. I absolutely love it, ah if only I had a place to go out and look glamorous. But it's not all bad as it means I don't have the excuse of spending my money on posh frocks. However, if I was in the market for a lovely dress, here's what I'd be wearing.
So we are almost 2 weeks on from when we began the alterations to the kitchen. We started off by writing quite an extensive to do list of things we'd like to get done by the end of the first weekend but events have got ahead of us and we aren't quite where we would like to be. However, all our kitchen wall cabinets have now been installed. So after almost two weeks without storage we finally somewhere to put our cups and glasses which until now have been stored in an empty laundry basket. This one, no less!
The kitchen still looks pretty much like the above, but with a few less boxes. Most of the boxes are for the bottom units and 1 very high full cupboard which will house the oven. Annoyingly, because we have rearranged where the bottom cupboards will sit, we can't take each bottom cabinet out one by one. They all have to come out together. It's this that makes it rather tricky, but we plan to get the majority of the work done THIS weekend! Wish us a bucket full of luck, we will need it. Not to mention the fact we have never been able to find where to turn the water off in our house so we'll have to freeze our sink pipe, remove the current unit and reconnect and install the new one, as the clock ticks and the ice melts.
Issues like the above wonky socket, do need resolving and I have purchased some shiny new sockets to replace the ones that we had when we moved in which are completely covered by grout! I am pleased to say that the walls don't look anything like this now as Neil has painstakenly plastered almost two entire kitchen walls. Plastering is a very difficult art, and we have had to invest a fair amount in purpose built tools, but it was a choice of either hiring a plasterer £££ or buying a large number of tiles to cover the dodgy walls ££. I've done a breakdown of the tools we have needed for plastering further down the page and it has been worth the cost as we get to keep the tools forever. Where as workman's time and tiles don't stay with us forever.
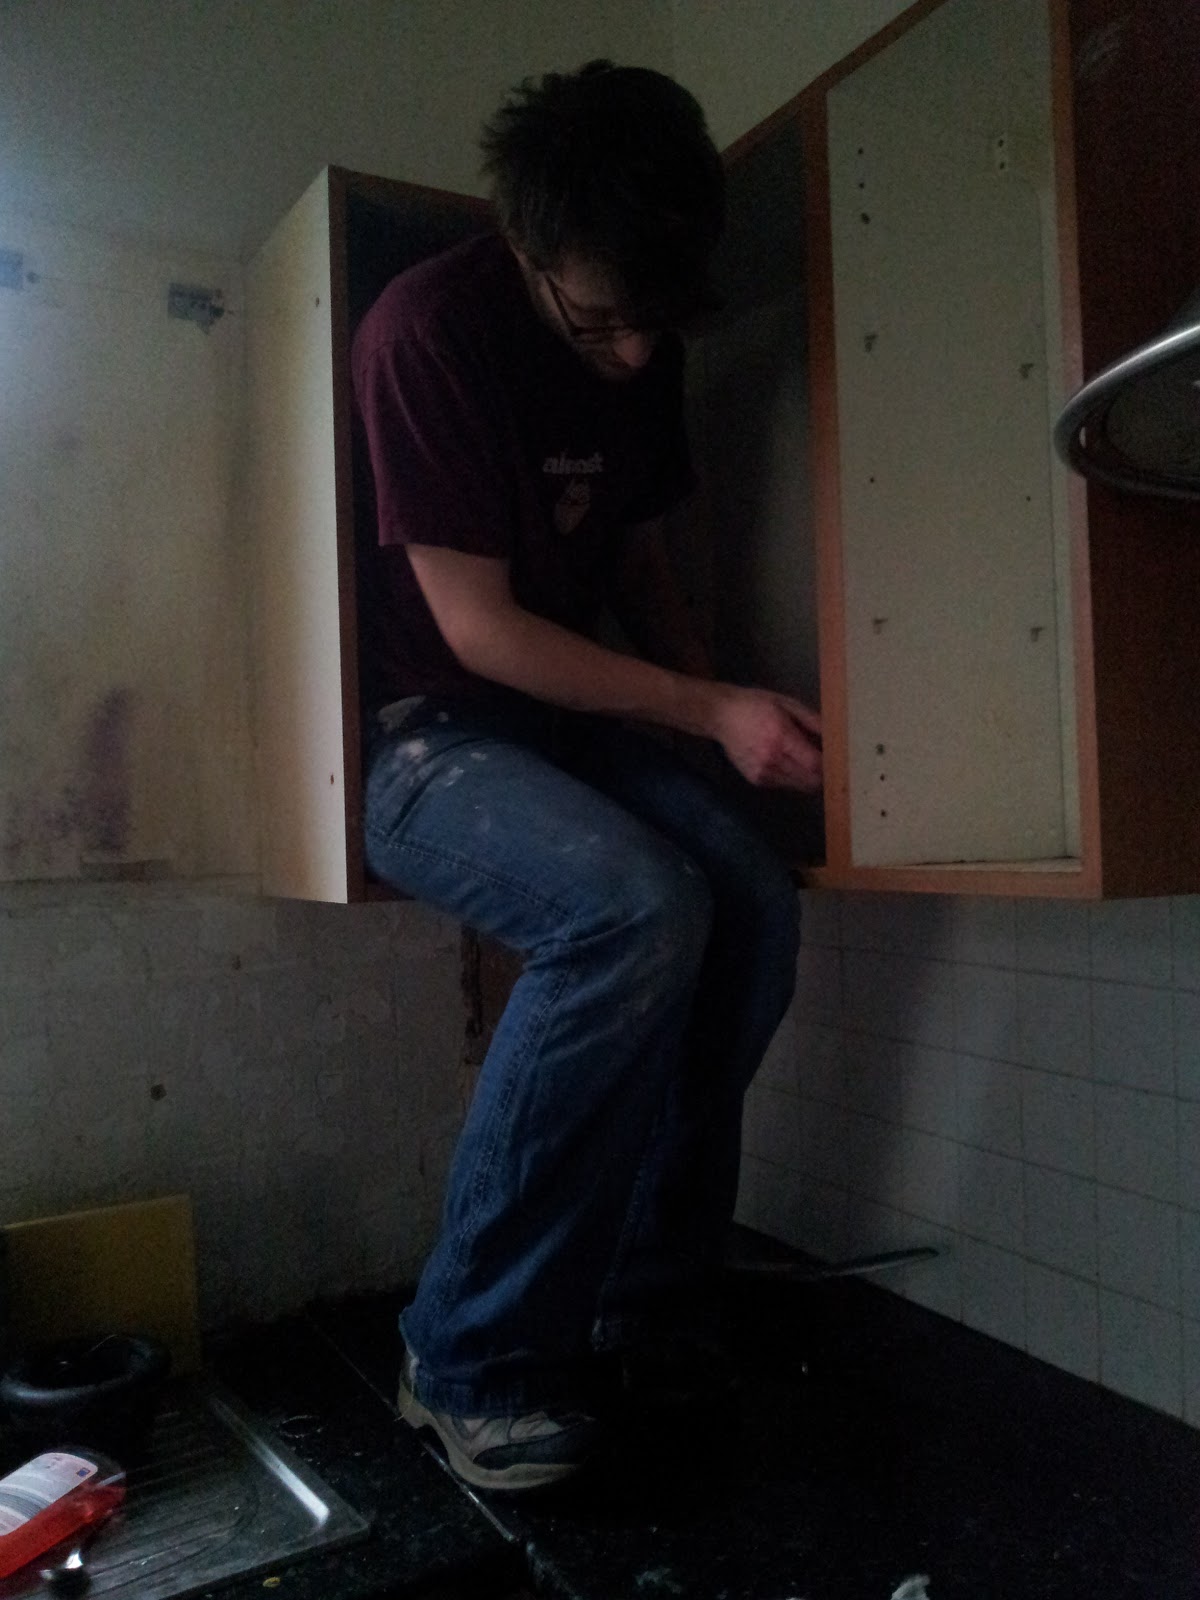
Here we have Neil taking off the kitchen cupboards, they were surprisingly well attached to the wall with two brackets at the back of each cupboard. Unfortunately, the brackets and screws had rusted together so we had to crow bar them out of the wall. Naturally this left massive holes in the wall so we've used filler to make these good, before plastering over. All of this needs time to dry and has been slowing us down with the limited evenings and weekends we have to do things in. Luckily we were loaned a dehumidifier from my parents in law when we moved into the house which we have failed to return. This has helped us so much over the years.
To do the plastering we have needed:
This is the first wall Neil plastered, it was previously covered in tiles, but we don't think these are needed, and didn't want to spend the money on replace them! Instead we have had to spend time and money plastering them but I have to say, it has been well worth it. All we have to do now is give them a sand over and it will look fantastic.
As we only have one trowel, whilst Neil was finishing off the second round of plastering, I started putting together the top cabinets as we were able to get these off the wall and measure where they needed to be. (Fingers crossed our measurements are up to scratch in an end terrace that has non straight walls. The only place I had to build them was the dining room hallway and it was getting a little difficult to move anywhere once they were constructed! You'll also see the bags full of cooking ingredients on the right as we spent the first week with no kitchen cupboards on the wall. The good thing has been having to clear things out though, did I really ever need 3 jars of pickled onions!?
Corner cupboard in process
While I was building cabinets, Neil carried on with the plastering, trying to make good the area where the second wall cupboard will hang (in the corner). This also included plastering the window sill which was previosuly covered with tiles until we set to work chiselling them away.
Where there were previously bare walls, like behind the cabinets the previous owner covered the very uneven walls with lining paper which we have removed and plastered. Once the plaster was on, dry and sanded I used an old white emulsion as a base coat. Then used our new paint, Contemporary White from Homebase. Once everything is painted I can't even imagine how good it will look. It's already starting to come together as you can see below with the arrival and installation of the first wall cupboard and the built in microwave.
So now it's on to stage two this weekend, so I guess Friday night will be a busy one as we prepare for the base units. This will include removing all the tiles from the floor and laying down the 4 ply wood sheets that have been cluttering up our hallway for the past week! I'm excited but a little daunted at the same time. Maybe I need to go back to my inspiration board to keep me sane...
I cannot remember if I mentioned that we went ahead and ordered our new kitchen. If not, we ordered our new kitchen!!
It was actually just over two weeks ago when we drove down to Ikea and just went for it. I had been designing it using the online planner for a while but it hadn't really occurred to me that at some point we would be saying, YES, let's do this. Or rather, it hadn't occurred to me that this was something we could do right now. I was a little scared when I sat down to talk to the guy in the shop and Neil occupied Nye. Neil really hasn't had much input on the kitchen design or content, so if it's not right. It is certainly my fault!
Yesterday the influx of boxes arrived and we currently have cardboard and polystyrene taking over the kitchen and dining room. It looks a little something like this...
The whole design process was really easy, after measuring up and inputting the details we chose the units that we liked and tried to find a combination of draws and shelves that would work for us. Compromises have been made as we know this isn't our 'forever' home so that's a no to the £1000 range cooker or even a double oven. But we have managed to organise a built in microwave grill which will free up some much needed worktop space and a gorgeous ceramic sink. The built in microwaves at Ikea are insanely expensive, I think because they have to have front ventilation. So, on the day we ordered, we left off the microwave to see if our current one would fit, (no such luck). However, we have managed to find a second hand one on Ebay that appears brand new. I couldn't be more thankful to the lovely lady who packaged it up so beautifully for me on it's travels from the south coast.
Last week we spent as much time as we could getting as much of the painting done as possible. We first used a steam cleaner to give the walls and ceilings a thorough deep clean which instantly made such a difference. Then, we used some leftover white paint to give the ceiling a bit of love. It took us a few coats to really make it sparkle but that alone has refreshed the room. Next we tackled the walls. Whilst poking around for paint brushes we found a discarded pot of paint we initially bought for the bathroom and didn't like. We thought it would be worth a try in the kitchen, as it wasn't doing anything sitting under the stairs, and even after a quick test patch we agreed that we thought it would work really well. As I'd been dreaming of my white kitchen with pops of orange I spent a while sulking but we've since realised that using pops of orange kitchenware will still be possible and look brilliant. So, we've already been out and bought up a few pieces of le creuset from our trusty TK Maxx. I really can't wait to see them in situ as I really think they will look ace. So, the colour palette now looks like this:
The kitchen units themselves are an off white colour with a solid wood worktop, and the turquoise, Mountain Rain is being used only on the chimney breast to provide a bit of contrast. I'm also hoping to use some Margareta, wood look fabric to go in the alcoves. The majority of the paint work is complete now, and we have started taking the tiles off the wall which wasn't too difficult. Now we find ourselves in the position of trying to work out a good way of taking out the old kitchen, whilst balancing baby duties. And you know that as soon as you take out the old one, we don't actually have a working kitchen, until we install the new one, yikes!
So far we've both been googling anything we think will come in handy and have been out to buy a jigsaw to cut the worktops, purchased plastering equipment for the walls and working how we can get the best deal on ply wood for the floor. It certainly feels like we are getting there, and I have no doubt it WILL be done by Christmas but oh boy is it a daunting task!
I barely know where to start when trying to document our kitchen renovation requirements. Let me first explain that our kitchen is the last room we are attempting to tackle in our house since we bought it nearly 2 1/2 years ago. I am sitting at my keyboard now and I know I need to go and take some photos to document the work required but I am a little scared! There is currently, missing plaster on the walls, bodged tiling, a cooker who's front has fallen off and... a few holes in the floor! (To name but a few of the issues.)
Our ideal Ikea Kitchen haven
Me trying my best to spruce up broken cupboards, extractor AND cooker)
We put off work in the kitchen as I think we were trying to avoid admitting that there were some quite serious problems in there to tackle that would require a bit of investment time and money wise. Now we have a semi-mobile baby scooting around we must take action on the holes at least!
So here goes with our major renovation plans!
First we need to tackle the floor. That means ripping out the entire kitchen, cutting out all the rotten floor boards, treating the surrounding area and then relaying a new floor. The bodge jobbers who previously owned the place laid wall tiles as floor tiles directly on to the floor boards. needless to say, until yesterday this was lurking underneath our ill fitting dishwasher and washing machine.
We really were at the mercy of our appliances as we knew that sooner or later one of them would go through the floor. (Particularly when the washing machine was doing a spin cycle) Poking around with the help of my dad yesterday confirmed this and thanks to his hard work he has fixed the floor for us.
So, now the floorboards fixed we need to move on to the other troubled areas and could really use a financial boost to get things under way, especially if we want to have it done before next Christmas!
Please excuse the pictures above, I fear I should have had a health warning on the top of this post. It would mean so much to us to be able to sort these out. At the moment it seems hard to believe that it will ever be our dream kitchen but I am convinced we can get there with just a bit of help. So to inspire us all I have created a wonderful inspiration board of what we have in mind.
Here is my Pinterest board of just some of the inspiration I would like to bring to our dark, dank and thoroughly dreadful kitchen! So, tots100 & Rated People, is our challenge accepted?
This nursery post has been a long time coming, Nye is now 8 months old. We did most of the big jobs when I was still pregnant and of course the room was 'ready' for when Nye arrived back in January. (Although, once they arrive, you soon realise the baby spends a lot more time in your bedroom than their own to begin with.)
This reveal was spurred on by the arrival of his new cot bed and gorgeous natural mattress. It is such a wonderful feeling to know that your baby is spending his days sleeping on wool and coconut coir fiber (while we snuggle down on Ikea's finest!!) It sounds so cliche but I find it incredibly fulfilling to do those little things for him. It's something I breath in when I find myself lovingly folding his reusable nappies every day! How lucky I am to have him and how wonderful it is to love and protect him.
But here we have it, a grand old room full of fun and laughter for my big boy.
Most of it was kindly picked up via freecycle, lovely friends with a few special gifts from mummy and daddy. I like to think it combines a good mixture of modern and vintage bits and pieces. I'm terrible at 'picking' a theme and colour scheme. I'm like a magpie with an eye for anything colourful and fun and that's sort of how every room turns out when I'm in charge. Thankfully, I like how it all comes together. The pictures here look a little more cluttered than many a nursery photo shoot but I like to think that this reflects that it is a little boys place to play and cause havoc at will.
There are a few sneaky DIY bits and bobs mixed in here, including a personalised lamp shade which I made last week with a £2.50 balloon shade. I have to say, it's the best £2.50 I've ever spent. I'm also so proud of learning to crochet and making him a blanket, just like my mum made me when I was small. You can catch a glimpse of this, peering over the edge of the cot above.
So to my 8 month little boy, here is your first ever room. It has evolved with you and you may never remember it but it will always be a place of sunshine and happiness.
I hope you all like the way it's turned out. Do let me know if there's anything you like and I can probably tell you where it's from. It has been many months of love, tender care and tweaks to get it to where we are now. Now I just need to find the bobbin for the sewing machine and finish the black out curtains!
I recently learnt to crochet thanks to the goodness of youtube / pinterest and a wonderful friend called Jess. It was something that took time, patience and persistence. It probably sounds silly, but I was so proud of myself once I finally cracked it.
I'm still a serious novice, I can only do a few stitches but the ones I can do I can do relatively well. The first thing I made and finished was a little blanket for Nye and I'm now making another slightly bigger one. There are so many how to videos and tutorials online but I thought I would post up which ones I personally found helpful.
So, the first thing I did was buy some wool and then some crochet hooks. I got the wool from Hobbycraft and the crochet hooks on ebay. I had no idea about the different sizes and managed to buy an entire set for about £3.00 just by searching 'Crochet Hook.' Now I find I tend to use the 4.00 4.5 and 5.00 (they are marked on the side of the hooks)
Since my initial wool buying I have purchased all my wool off ebay. As a beginner my friend told me that the wool that multicoloured is good because it means you don't have to change between wool's to get a good pattern. This was a great tip! Wool brands also do special baby wool which is really soft, so that's another thing to take into consideration as well as thinking about whether the wool is easy to wash (definitely a necessity for a baby blanket!)
So, to begin with I had to learn to do a slip knot which attaches the wool to the hook. I'm going to be honest with you, it took me several attempts over multiple days to even learn to do this! But, once I had tried over and over again I did get the hang of it and it is easy (once you know how!) It took me some time to work out how to even hold the hook but to be honest, finding something comfortable comes with time.
Now, I like you may be, was very eager to get going but the best thing I learnt from my friend Jess was to practice doing a single chain stitch over and over and over again. I did this for days. I felt like a petulant child wanting to move on but it was wroth while because it got my hands used to the movement of doing loop after loop. So, persist until you feel like you could do it with your eyes shut!
At this point it is probably useful to know that some US & UK crochet terminology is different. So if and when you want to make something and they start talking about double crochet (dc) for example, this could mean two different things!
Here is a chart for future reference but you probably won't need this yet.
So, now you can do the slip knot and the chains, I used this follow on video to start making my first ever blanket.
At this point, I still didn't really understand the terminology and had to stop and rewind the video about 15 times to catch on as she did each new stitch. But once you start, you gradually learn what she's on about. And once you know how to do a square, you're off. Normally granny squares are sewn together to make a blanket but, as a beginner, I decided to just keep making the square bigger and bigger until it was the size of a blanket!
Then came the difficult bit, learning how to finish the blanket off with a new stitch *scary* But the instructions on Attic24 are amazing. Here's the tutorial for doing the edging.
Attic24 Granny Blanket Edging
Here is a picture of the first blanket I made which Nye now goes to bed with every night.
So, I'm now on my second blanket, here's it's progress so far.
I plan to do a few more rows around the edge and then I will finish the edging using the tutorial above. I've set myself Friday as my deadline as I'd like it done before we head off to Norfolk for my friends wedding.