My beloved Pinterest has informed me on numerous occasions that it is possible to make your own fonts. I don't know about you but I waste hours of my life drooling over beautiful fonts and no matter how many I download I always seem to need more. So, one of my things I thought I would like to accomplish this year was starting to make my own fonts.
Doing this is still something I haven't had a chance to get round to, but when I saw this post by Holly about font making Apps I had to have a go. Naturally iFontMaker which Holly talks about in her blog post is only available in the apple store but thankfully I was able to find an android version called Font2go.
The basic version of Font2go is free and lets you create your own font in lowercase letters but you can only save one font. I initially did this but decided to pay extra for the upgrade which allows you to do all the characters and symbols you need for a full font and create as many as you like. I think I paid £1.89 which was a lot for me because I pretty much never buy apps for my phone. But in this instance I was chomping at the bit to have a play around so I think the very reasonable fee was worth it.
It has taken me a while to realise how to transport this from my phone to my computer but now I know it is easy peasy. All you have to do is press the button in the top right corner which completes the font. You can then press email, and the full document will be sent to your email ready to download. Simples.
So if you like it, you can use it too. The dowload is available here.
So we are almost 2 weeks on from when we began the alterations to the kitchen. We started off by writing quite an extensive to do list of things we'd like to get done by the end of the first weekend but events have got ahead of us and we aren't quite where we would like to be. However, all our kitchen wall cabinets have now been installed. So after almost two weeks without storage we finally somewhere to put our cups and glasses which until now have been stored in an empty laundry basket. This one, no less!
The kitchen still looks pretty much like the above, but with a few less boxes. Most of the boxes are for the bottom units and 1 very high full cupboard which will house the oven. Annoyingly, because we have rearranged where the bottom cupboards will sit, we can't take each bottom cabinet out one by one. They all have to come out together. It's this that makes it rather tricky, but we plan to get the majority of the work done THIS weekend! Wish us a bucket full of luck, we will need it. Not to mention the fact we have never been able to find where to turn the water off in our house so we'll have to freeze our sink pipe, remove the current unit and reconnect and install the new one, as the clock ticks and the ice melts.
Issues like the above wonky socket, do need resolving and I have purchased some shiny new sockets to replace the ones that we had when we moved in which are completely covered by grout! I am pleased to say that the walls don't look anything like this now as Neil has painstakenly plastered almost two entire kitchen walls. Plastering is a very difficult art, and we have had to invest a fair amount in purpose built tools, but it was a choice of either hiring a plasterer £££ or buying a large number of tiles to cover the dodgy walls ££. I've done a breakdown of the tools we have needed for plastering further down the page and it has been worth the cost as we get to keep the tools forever. Where as workman's time and tiles don't stay with us forever.
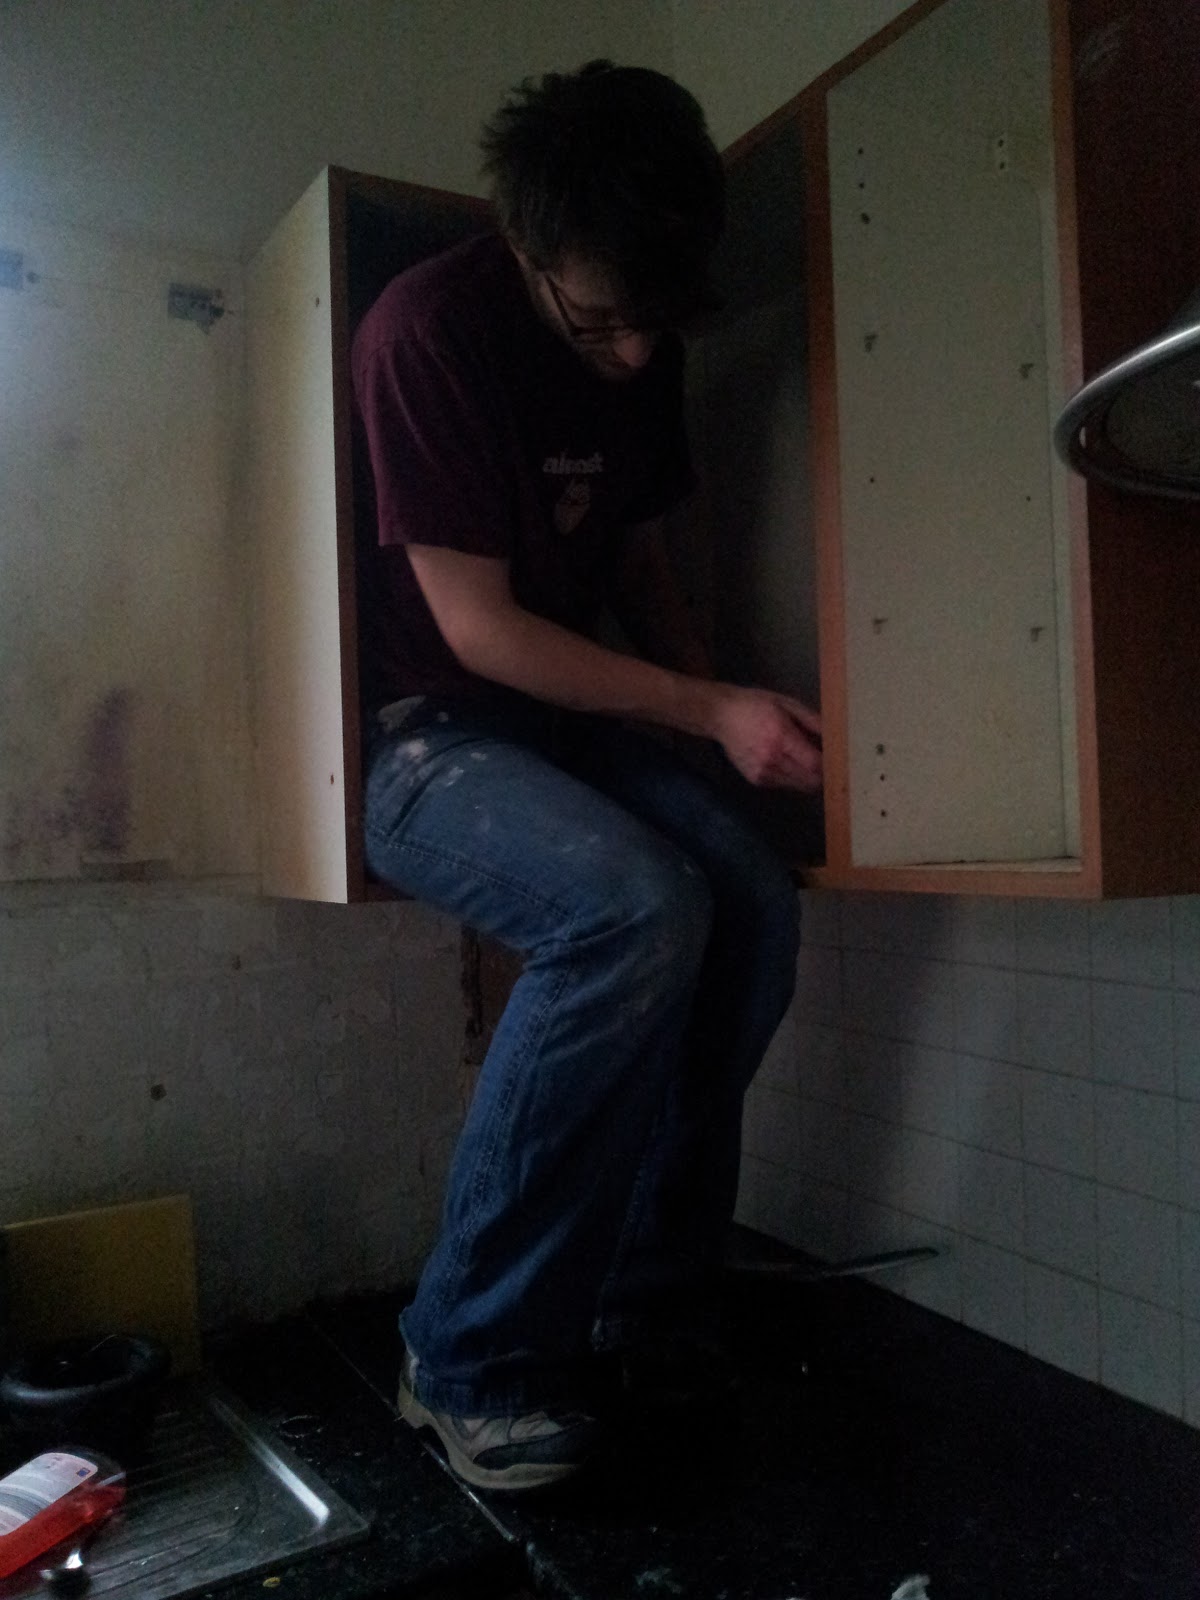
Here we have Neil taking off the kitchen cupboards, they were surprisingly well attached to the wall with two brackets at the back of each cupboard. Unfortunately, the brackets and screws had rusted together so we had to crow bar them out of the wall. Naturally this left massive holes in the wall so we've used filler to make these good, before plastering over. All of this needs time to dry and has been slowing us down with the limited evenings and weekends we have to do things in. Luckily we were loaned a dehumidifier from my parents in law when we moved into the house which we have failed to return. This has helped us so much over the years.
To do the plastering we have needed:
This is the first wall Neil plastered, it was previously covered in tiles, but we don't think these are needed, and didn't want to spend the money on replace them! Instead we have had to spend time and money plastering them but I have to say, it has been well worth it. All we have to do now is give them a sand over and it will look fantastic.
As we only have one trowel, whilst Neil was finishing off the second round of plastering, I started putting together the top cabinets as we were able to get these off the wall and measure where they needed to be. (Fingers crossed our measurements are up to scratch in an end terrace that has non straight walls. The only place I had to build them was the dining room hallway and it was getting a little difficult to move anywhere once they were constructed! You'll also see the bags full of cooking ingredients on the right as we spent the first week with no kitchen cupboards on the wall. The good thing has been having to clear things out though, did I really ever need 3 jars of pickled onions!?
Corner cupboard in process
While I was building cabinets, Neil carried on with the plastering, trying to make good the area where the second wall cupboard will hang (in the corner). This also included plastering the window sill which was previosuly covered with tiles until we set to work chiselling them away.
Where there were previously bare walls, like behind the cabinets the previous owner covered the very uneven walls with lining paper which we have removed and plastered. Once the plaster was on, dry and sanded I used an old white emulsion as a base coat. Then used our new paint, Contemporary White from Homebase. Once everything is painted I can't even imagine how good it will look. It's already starting to come together as you can see below with the arrival and installation of the first wall cupboard and the built in microwave.
So now it's on to stage two this weekend, so I guess Friday night will be a busy one as we prepare for the base units. This will include removing all the tiles from the floor and laying down the 4 ply wood sheets that have been cluttering up our hallway for the past week! I'm excited but a little daunted at the same time. Maybe I need to go back to my inspiration board to keep me sane...
I recently learnt to crochet thanks to the goodness of youtube / pinterest and a wonderful friend called Jess. It was something that took time, patience and persistence. It probably sounds silly, but I was so proud of myself once I finally cracked it.
I'm still a serious novice, I can only do a few stitches but the ones I can do I can do relatively well. The first thing I made and finished was a little blanket for Nye and I'm now making another slightly bigger one. There are so many how to videos and tutorials online but I thought I would post up which ones I personally found helpful.
So, the first thing I did was buy some wool and then some crochet hooks. I got the wool from Hobbycraft and the crochet hooks on ebay. I had no idea about the different sizes and managed to buy an entire set for about £3.00 just by searching 'Crochet Hook.' Now I find I tend to use the 4.00 4.5 and 5.00 (they are marked on the side of the hooks)
Since my initial wool buying I have purchased all my wool off ebay. As a beginner my friend told me that the wool that multicoloured is good because it means you don't have to change between wool's to get a good pattern. This was a great tip! Wool brands also do special baby wool which is really soft, so that's another thing to take into consideration as well as thinking about whether the wool is easy to wash (definitely a necessity for a baby blanket!)
So, to begin with I had to learn to do a slip knot which attaches the wool to the hook. I'm going to be honest with you, it took me several attempts over multiple days to even learn to do this! But, once I had tried over and over again I did get the hang of it and it is easy (once you know how!) It took me some time to work out how to even hold the hook but to be honest, finding something comfortable comes with time.
Now, I like you may be, was very eager to get going but the best thing I learnt from my friend Jess was to practice doing a single chain stitch over and over and over again. I did this for days. I felt like a petulant child wanting to move on but it was wroth while because it got my hands used to the movement of doing loop after loop. So, persist until you feel like you could do it with your eyes shut!
At this point it is probably useful to know that some US & UK crochet terminology is different. So if and when you want to make something and they start talking about double crochet (dc) for example, this could mean two different things!
Here is a chart for future reference but you probably won't need this yet.
So, now you can do the slip knot and the chains, I used this follow on video to start making my first ever blanket.
At this point, I still didn't really understand the terminology and had to stop and rewind the video about 15 times to catch on as she did each new stitch. But once you start, you gradually learn what she's on about. And once you know how to do a square, you're off. Normally granny squares are sewn together to make a blanket but, as a beginner, I decided to just keep making the square bigger and bigger until it was the size of a blanket!
Then came the difficult bit, learning how to finish the blanket off with a new stitch *scary* But the instructions on Attic24 are amazing. Here's the tutorial for doing the edging.
Attic24 Granny Blanket Edging
Here is a picture of the first blanket I made which Nye now goes to bed with every night.
So, I'm now on my second blanket, here's it's progress so far.
I plan to do a few more rows around the edge and then I will finish the edging using the tutorial above. I've set myself Friday as my deadline as I'd like it done before we head off to Norfolk for my friends wedding.
Today I decided to give quiche a go. I was inspired predominantly by Episode 2 of The Great British Bake Off where I drooled over a number of unusual quiche concoctions.
So, in a fit of enthusiasm I headed to the kitchen to prepare quiche for our lunch. Here's the concoction I came across in the fridge which made it's way in to the mix.
Last night I had the urge for some chocolate oat biscuits like I used to have at break time when I was at Middle School in Long Stratton. They always came out warm from the oven and had a soft and sweet chocolate icing topping.
I made something similar with my friend Nicky during my A-levels so I thought I'd see if I could look for a recipe online. All the recipes use a chocolate topping rather than what I remember being a slightly gooey chocolate icing.
In the end I went for this recipe - (Adapted from here)
Ingredients
Serves: 24
225g (8 oz) margarine
225g (8 oz) caster sugar
225g (8 oz) self-raising flour.
140g (5 oz) porridge oats
55g (2 oz) cocoa
Icing sugar and 2 tsp cocoa powder for covering
Preparation method
Prep:15 mins | Cook:15 mins | Extra time:30min, chilling
1.
In a large pan melt together margarine and sugar.
2.
When sugar is completely dissolved remove from heat and mix in oats, cocoa and nuts. Mix in self-raising flour.
3.
Turn into a 20x30cm (13x9 in) baking tray and press down well.
4.
Bake at 180 C / Gas 4 for 15 minutes.
5.
Cool then cover with chocolate icing. Chill to set.
Try blackberry cranachan (had to add this Scottish recipe)
Bake a blackberry and apple crumble
Put in a summer Pavlova
Create a blackberry fool
Make a blackberry smoothie
Put a few blackberries in lemonade
Freeze a few for later. Do not wash. Lay evenly on a baking tray and put in the freezer. Put them in a zip lock bag the next day and then use as needed.
Eat them plain or sprinkled with a little icing sugar. They're yummy!
Ever since Neil and I were first gifted a pine TV stand when my dad arrived with a van load of belongings from his cow shed, I've been meaning to sand and whitewash it. This was in the hope of making it look less like a hand me down and more like a priceless style icon (haha). But as procrastination hit new levels on Tuesday afternoon I decided to go for it, threw everything neatly placed upon it, onto the floor and carted it out to the garden for a re-vamp.
At first I thought it would take all afternoon to sand it down but then I got the paint out and thought after all the sanding, mixing up paint would be like the silver lining of furniture decoration!
So here we are ready to begin - TV stand in sight, Neil's Christmas present sander in hand.
And we were off, hand juddering away as we stripped what felt like 10 layers of varnish! (With sunglasses on to protect my eyes from the dust)
I think in total all of the sanding took about an hour on and off. It was really difficult to do all the edges and the inside of the shelves. Therefore on the protruding surfaces I sanded diligently, but I have to admit I didn't work so hard to do the internal bits (praying the paint would just cover anyway...)
So once I was at this stage it was time to mix up the paint. I have to admit that I am very lucky to have stumbled across exactly what I was looking for by chance, in an amazing shop on our honeymoon, The Brooklyn General Store. They sell the gorgeous Old Fashioned Milk Paint and we decided to go for Oyster White and got enough to use on both the tv cabinet and a pine sideboard we also want to recreate. Here I am mixing it up. It says to add water and powder in equal parts but when I started to apply it I realised it was far too thick so just added some more water to get the washed effect I was after.
Once mixed it was really easy to apply and even covered the parts I hadn't sanded down very well. But it was clear that it was drying quicker and with a nicer finish to the bits I took more time on. So, where I only needed one coat on the top and sides I needed two on the insides.
And here we are with the finished product, awaiting a slight retouch which I've just done today. (Needed to get it in place to surprise Neil when he got home from work so please ignore the messiness!)
And to top it all off, Gemma even fit in some sun bathing!